In this tutorial, you will learn advanced techniques on how to work with Senuke Xcr and KontentMachine. This is the easiest way to add real contextual links inside the properties you are submitting to with Senuke Xcr.
Assuming you have set up the preferred options in KM, and you have set up your URLs and keywords in Senuke Xcr…
1. Go to Senuke and pull your tags (ex. #randurls[1|1|new line|Tier 1|]#)
2. In the Link Settings window next to each link, there is a Token checkbox. Click on it.
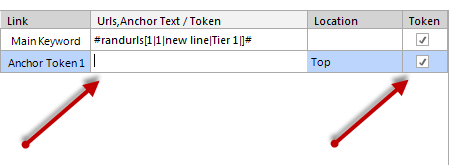
3. Click inside the field for the tokens and paste the SEnuke Xcr tokens.
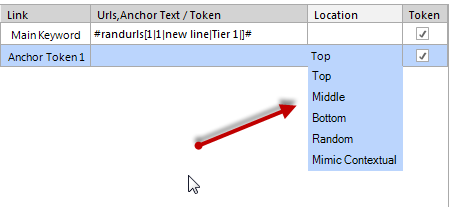
4. If you are setting up Article Body Links, click on the location cell and select where you want this link to appear in the article.
5. Press Build & Export
6. From the Template drop-down menu select one of the two premade Senuke templates (one of them is exported in spintax, and the other is “clean”)
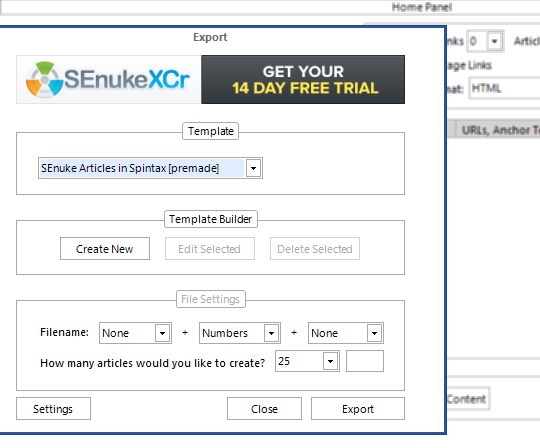
7. Select the way you would like your files to be named and press Export
8. Select where you want to save your files.
9. In Senuke Xcr, go to the Load Articles tab and choose “Load articles sequentially from directory instead of using spinner” and browse to the directory where you saved your KM articles.

That’s it. What Senuke Xcr will do, in that case, is to load one of the files each time it is submitting content to a property.
Note that you will need to insert the categories and tags separately because Senuke doesn’t support importing them via files. That shouldn’t be a problem because you can copy and paste them from KontentMachine.